You Just Have To Know How To Roast a Chicken
My mother and father love to talk about all the things I wouldn’t eat growing up. They like to reference the year that I only ate chicken parmesan (which I would like to point out that you allowed, Julie and Stephen); the winter I only ate pesto-based dishes; the time I went on a calamari strike when I found out it wasn’t really “special onion rings.” Now, decades later, my food limitations are close to none, yet it still shocks my parents that I actually enjoy Brussels sprouts.
Throughout this time, my mother learned that the foolproof way to satisfy two picky children was roasting one whole chicken to perfection. I can’t remember if she was always great at it, but at this point her bird is a family legend. She taught me how, and now I have taught most of my friends, because I truly believe that if you want to be treated like an adult, you just have to know how to roast a chicken.
A delicious, simple roast chicken to solidify your status as an adult.
The goal is to know your procedure so well that you could do it blindfolded—or at least without a recipe. The key is this: You can always roast a whole chicken for 15–20 minutes per pound. That’s the only recipe you really need.
Time: Somewhere between 2 ½ and 3 hrs
Active Time: 20 min
Serves: 4 hungry adults, 6 less hungry adults, or a week of work lunches
Drink: A light red wine, like Gamay or Schiava
1. Buy yo’ bird
There’s truth in this: Higher quality birds taste better (mainly because they’re not contemplating death in a cage every day for eternity). As tempting as it is to buy a bargain-priced bird, don’t fall into the trap. Spend a little more for an organic or cage-free or small farm beast because this chicken is going to be the star of your dinner—make sure it shines.
2. Preheat oven to 425 F
3. Rinse, dry, salt, rest
Okay, time to get your bird ready. Rinse it all over with cold water and remove the giblets from the inside of the bird (if you’re lucky, they’ll be in a bag you can remove easily, but if not, just reach in there and grab ’em. They’re not attached to anything anymore.) Also, it’s time to get over whatever squeamish thing you’ve got about raw meat. The more you know and feel comfortable handling your food, the better your relationship with food will be. Trust.
Once you’ve rinsed the bird from top to bottom, pat ’er dry. Aggressively salt and pepper the inside of the bird (the cavity) and let it come to room temperature.
*If you want the crispiest skin possible, you can also add one step: the fridge. Once you’ve rinsed, dried, and salted, leave your bird in the fridge for one hour uncovered and then let it come to room temp. This leads to wicked crispy skin, but it’s not necessary, and adds some time.
4. Stuff, truss, season
Stuff the inside cavity with one lemon, one onion, four cloves of garlic, and fresh herbs.
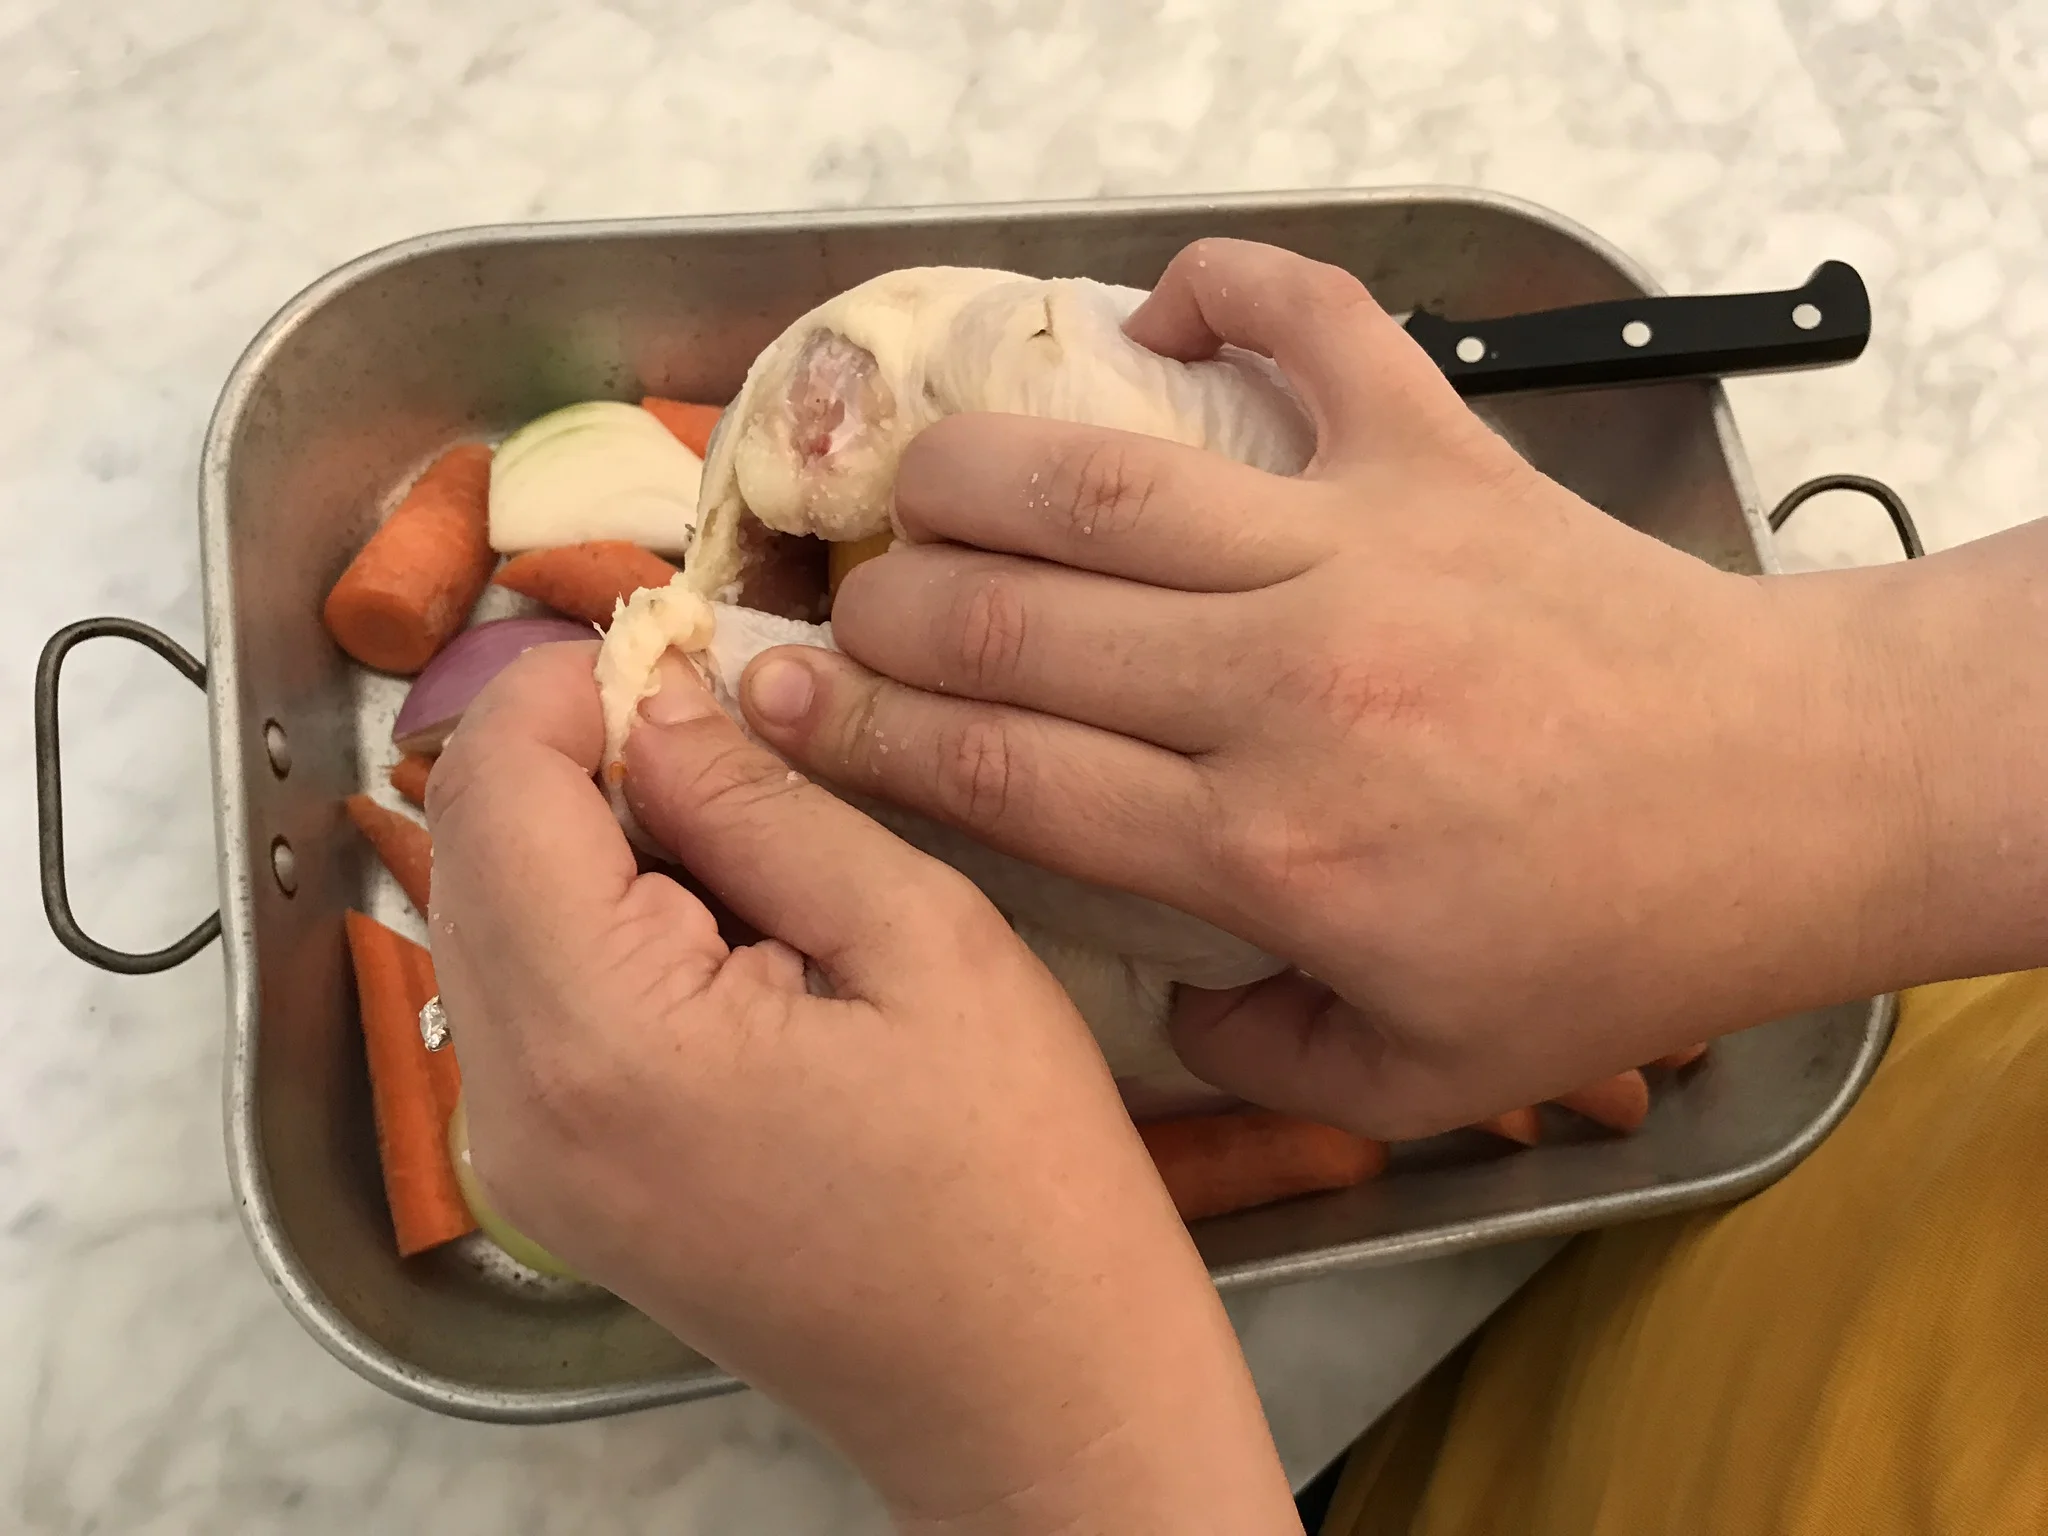
Trussing the bird is definitely optional and my preferred way of lazy-trussing needs no twine or extra tools: Simply pierce a hole the size of your thumb in the excess skin surrounding the cavity (a paring knife or kitchen shears works great for this). Then slip the end of the drumstick through the hole. The skin will act as a holder for the drumstick and block the cavity to ensure your bird stays good and stuffed. If you have enough skin, do it with both sides. If not, don’t worry about it.
Season your chicken all over with butter, sliding it under the skin and rubbing it over the skin. Then rub with salt and pepper.
5. Roast the chicken
In a cast iron or roasting pan, make a bed using the cut carrots and the rest of the onion and garlic. Lay the bird on top.
Stick that sucker in the oven at 425 for 15 minutes. Turn the temp down to 375 and roast the chicken for 15-20 minutes per pound checking at every 15-20 minute interval to ensure there’s no burning. (Check by turning on your oven light and peeking through the glass, not by opening the oven). For the last 15-20 minute chunk, turn the temp back up to 425 to crisp the skin.
You’ll know when it’s done when an instant-read thermometer that’s inserted into the thickest part of the thigh reads 165 degrees.
6. Rest for 15 Minutes.
I never do this, but you really should. It’s so much better. Looseley cover your bird with foil if you’re worried about it getting cold.
7. Carve and serve
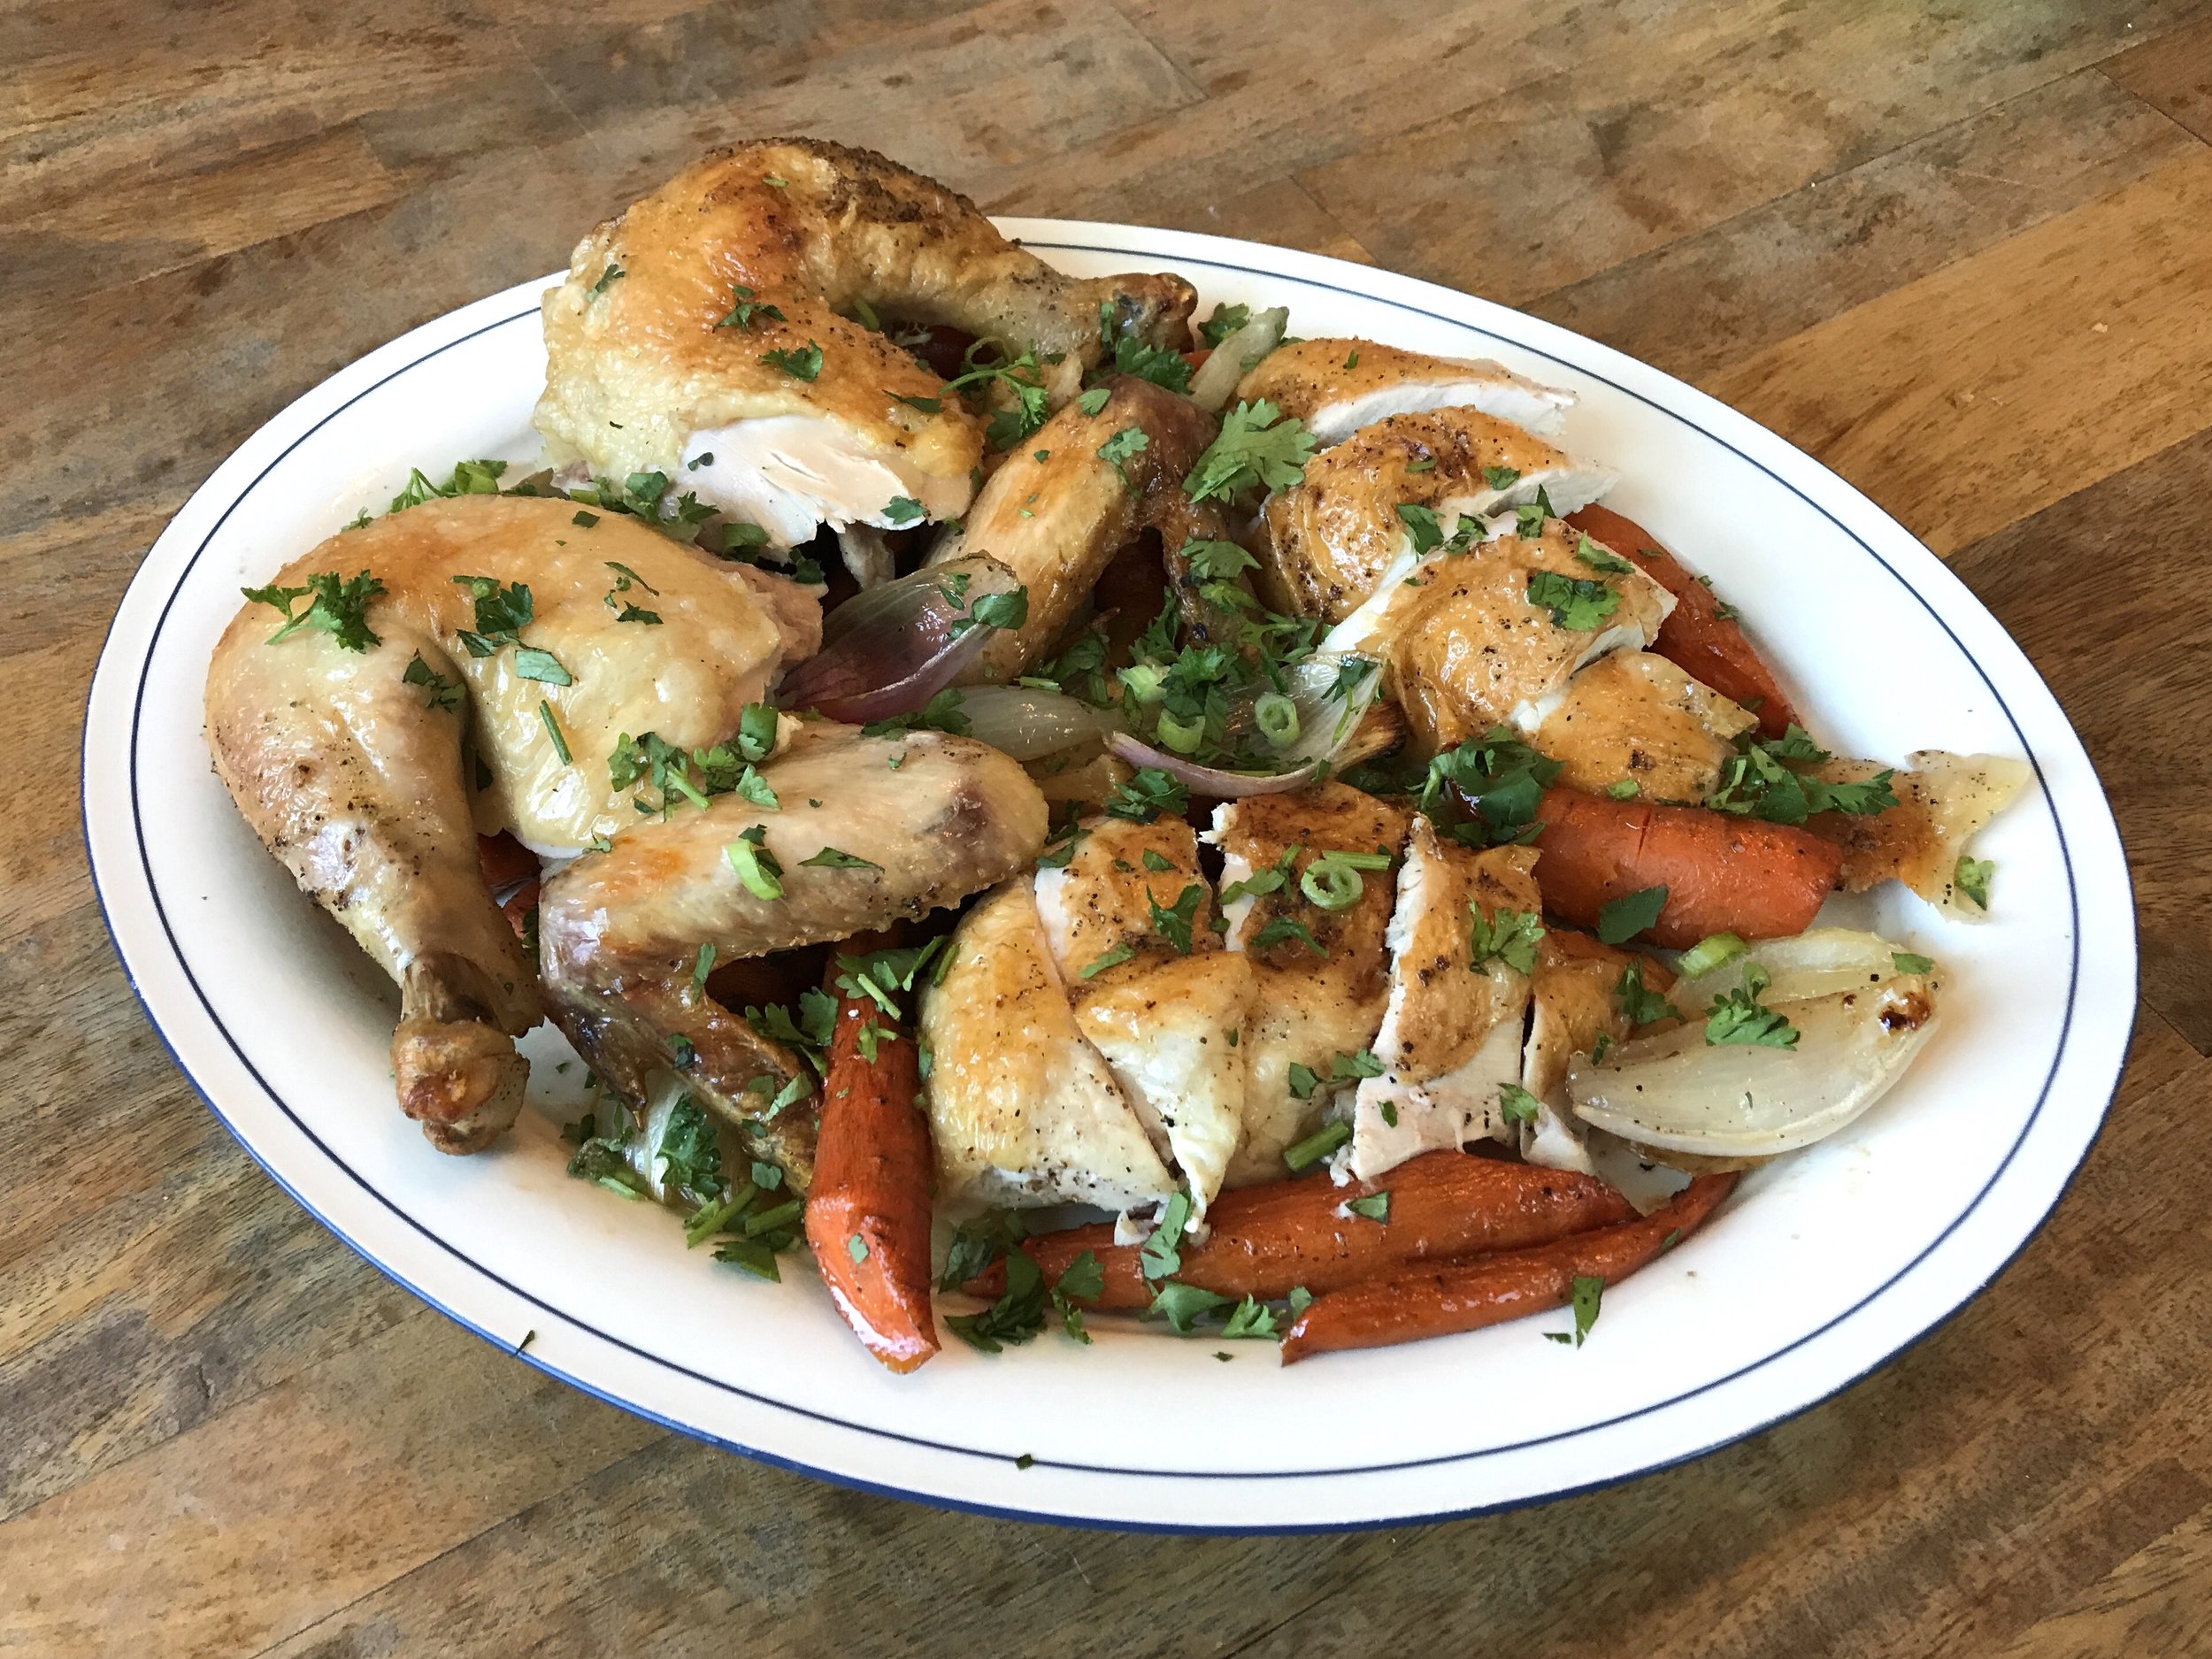
Carving a bird is an art. Unless you’re really trying to impress, don’t worry so much about the picture-perfect carving. Cut off each breast the best you can, then the thighs, wings, and leg. Finally, flip the bird over and pick off all the delicious bits with your hands.
The carrots, onions, and garlic will be cooked in schmaltz and absolutely delicious. Lay those on a serving tray and top with the carved chicken. Sprinkle everything with maldon salt, cracked pepper, and any extra herbs you have.
Um, excuse me?
What kind of chicken should I buy?
Opt for a kindly raised, organic, happy chicken because they really do taste better.
My chicken is too big. What should I do?
There’s no such thing! The best thing about cooking a chicken whole (or turkey, for that matter) is that the cooking instructions can easily be adjusted for the size of your bird. The rule of thumb is cook the whole thing for 15-20 minutes per pound.
Why do I need to let the bird come to room temperature before cooking?
Letting your meat come to room temperature lets it cook more evenly—and helps the meat stay juicy and retain moisture while it cooks.
Can I stuff my bird with ingredients besides lemon and herbs?
You can stuff the bird anyway you like—my go to stuffing is onions, garlic, and varying citrus and herbs. It’s simple, flavorful, and plays with the natural flavors of the chicken. Today we’re keeping it traditional with lemon and mixed fresh herbs, but you can feel free to go crazy here. Clementines and thyme? Lime and cilantro? Try a new combination anytime you cook.
What if my chicken breast starts burning before the legs are fully cooked?
No sweat. Just loosely cover up any parts of the skin that are looking too crispy with tinfoil. Take the foil off for the last 15-20 minutes to finish up crisping.
My oven runs hot (or cold)—should I adjust the temp?
425 was the temperature used at my childhood home to crispy skin and cook chicken. At the somewhat shitty but loveable place I now own (with a substantially less fancy oven) I need to heat it up to 450 to get the same results. Don’t be afraid to adjust as necessary—you’re not going to mess this up.
I don’t have an instant read thermometer. How can I tell if the bird is done?
I didn’t have an instant read thermometer until I worked at Chefsteps and they gave me a free one in my welcome bag. It’s no big deal. When you think the bird is done, grab your paring knife and pierce the thigh. If the juices run red, it’s not done. If they are clear, it’s good to go. If you’re not sure, you can cut the all the way to the bone. If you see any red flesh, it needs more time.
This recipe seems kind of… basic?
Yes, it is—for good reason. The key to cooking chicken is mastering your technique. Once you’ve got a good grasp on how to cook a picturesque chicken, different recipes fall into place. You can try far-away spices, different herb-y combinations, or sides to change up your meal—but I have found the key to creative cooking is a foundation of technique.


