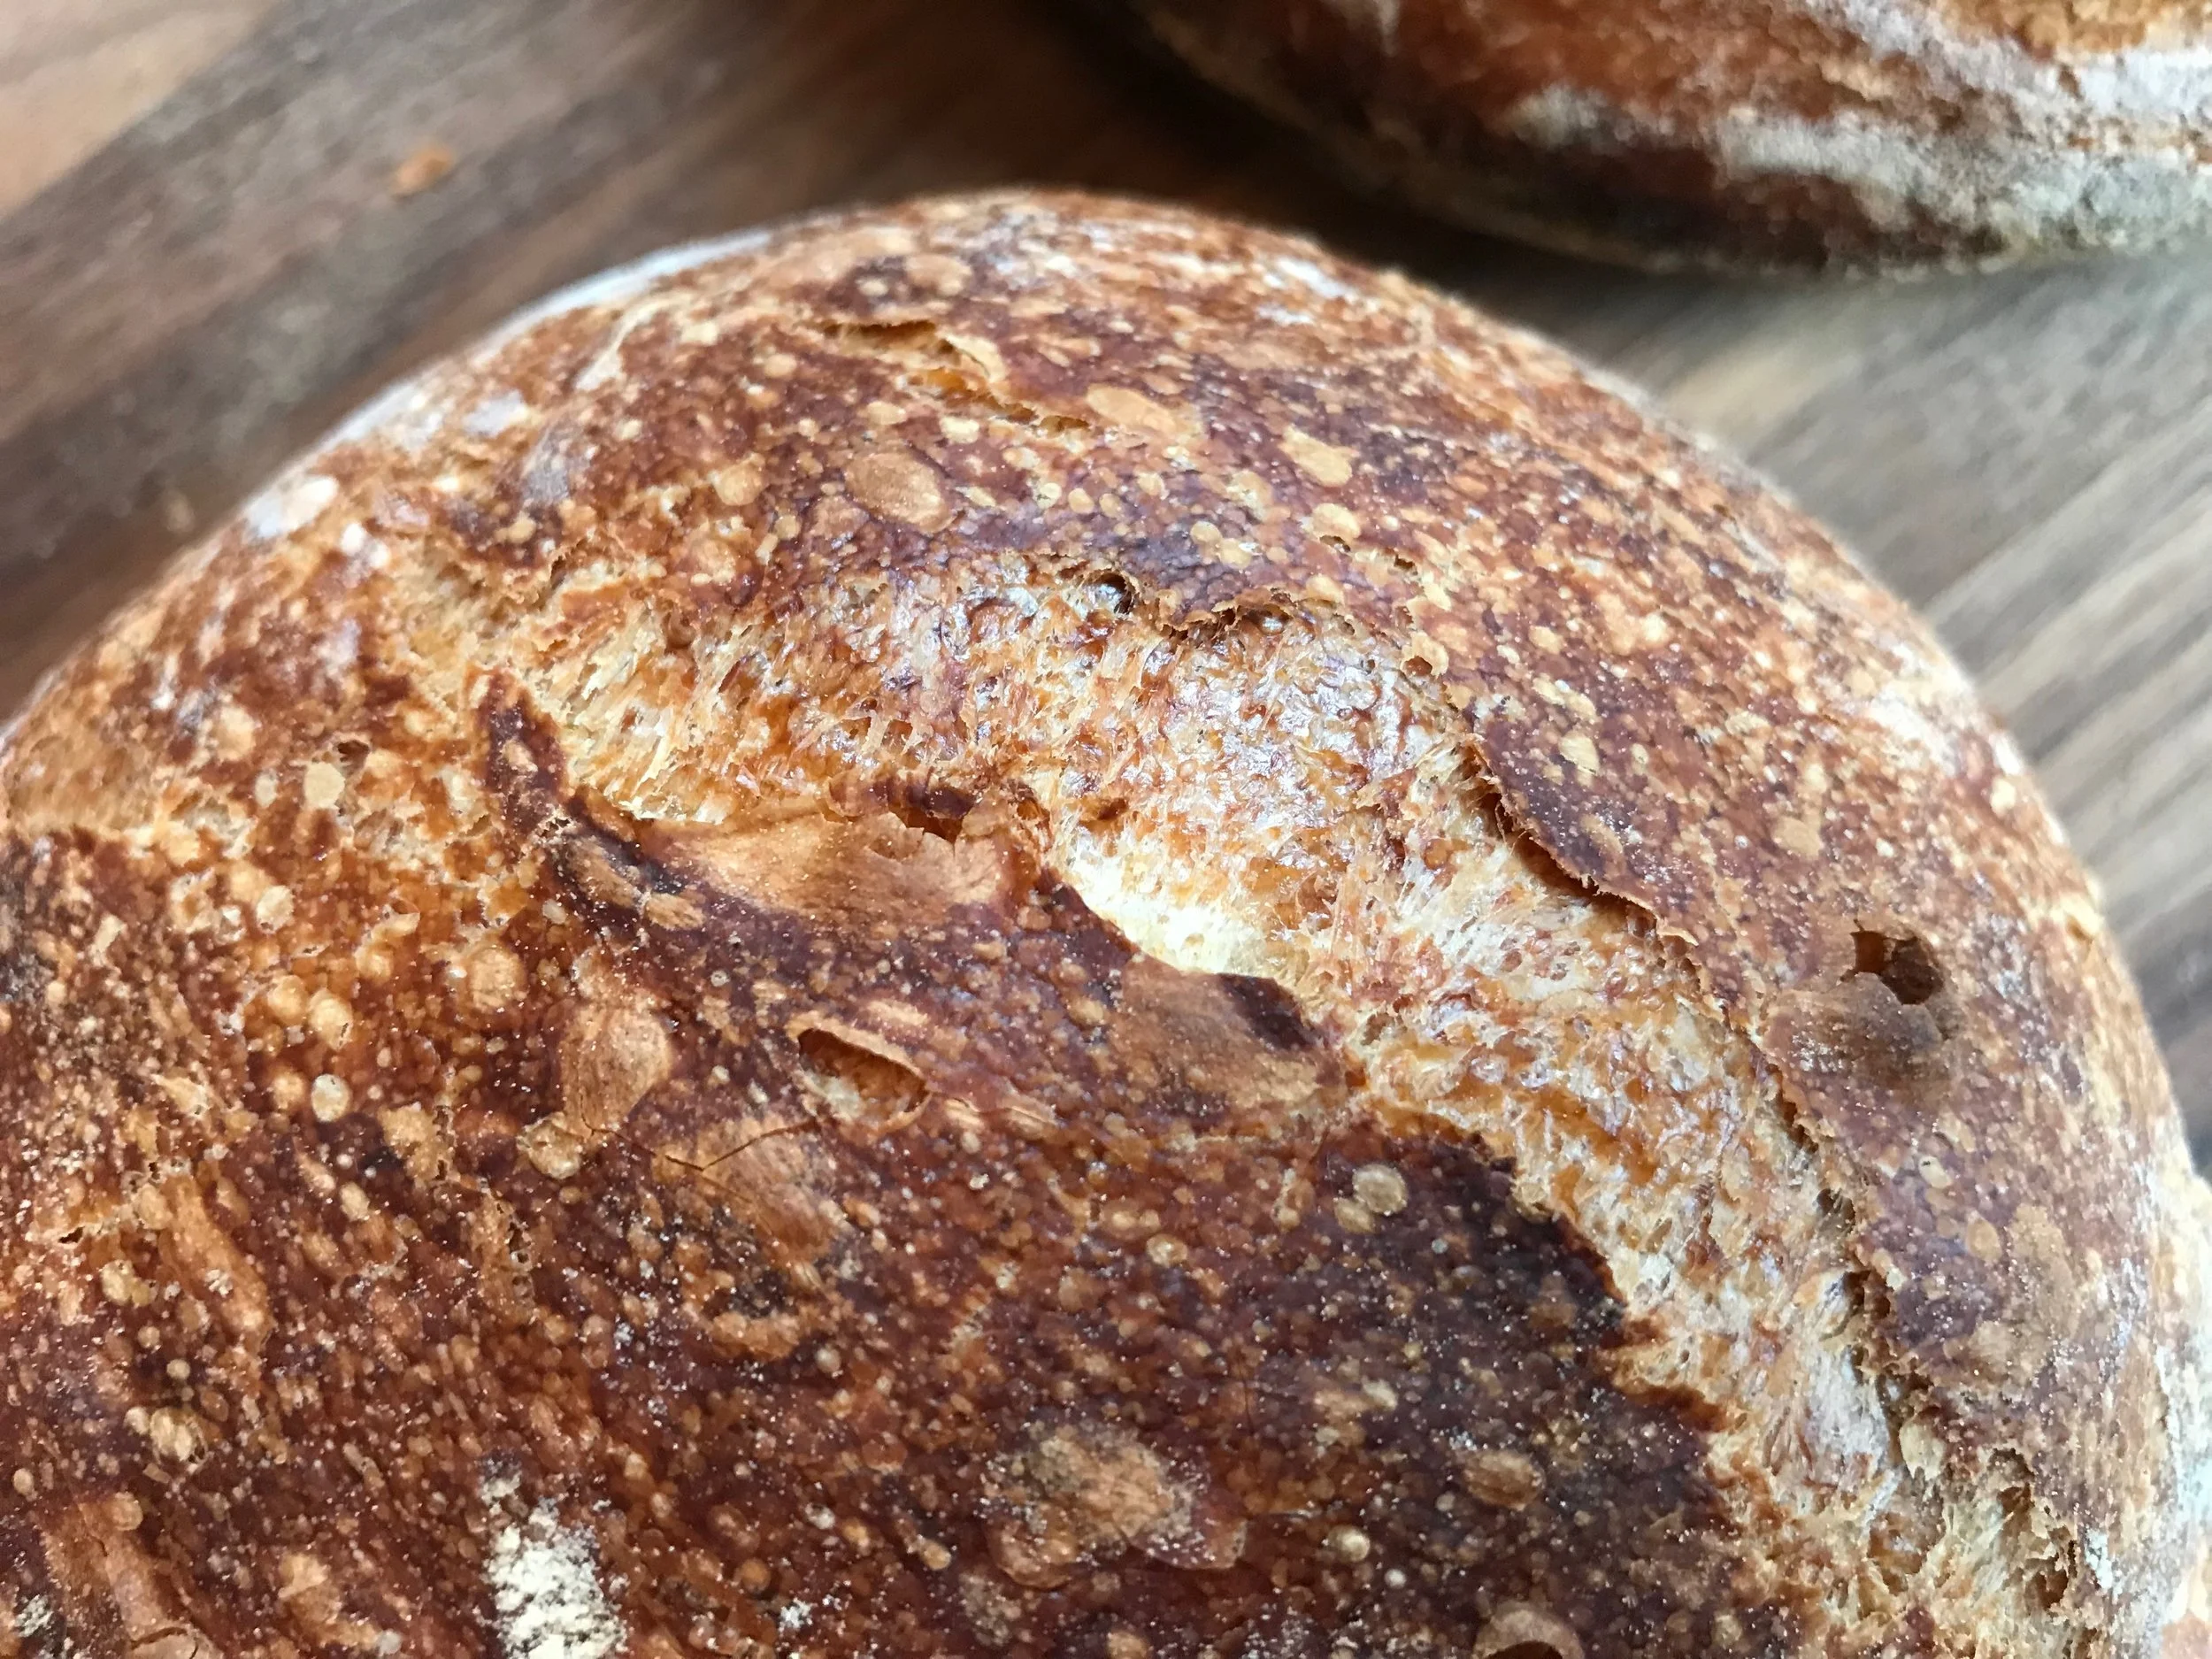
Homemade English Muffins
Yes, it is easy to buy a sleeve of English muffins at the grocery store, but this is not intended to be practical. It is for the sheer delight of making something from scratch, with your hands.
Because you can
This is a lovely Sunday-morning activity that takes about four hours total, and results in a yummy homemade treat. (Plus, that fresh-baked bread smell.) The key is this: It’s way easier with a stand mixer, and don’t stress about perfection. My first batch turned out more spherical than puck-shaped, and guess what? They still looked and tasted delicious.
Time: 4 hours
Active Time: ~40 minutes
Makes: 6 English muffins
EQUIPMENT
1. Combine dry ingredients
In the bowl of a stand mixer, combine dry ingredients until well-incorporated.
2. Add butter and buttermilk; mix
With the paddle attachment, stir in the butter and buttermilk. There should be no dry spots. If you see any, add a little extra buttermilk, milk, or water and keep mixing.
No mixer: Mix with a wooden spoon until fully incorporated.
3. Knead
Switch to your dough hook. On medium speed, knead the dough for about eight minutes. It should come together as a smooth ball.
No mixer: Turn dough onto a lightly floured surface and knead by hand for 10 minutes, adding a bit of flour occasionally if things get sticky.
4. Add a bit of oil; let rest for 60 to 90 minutes
Coat the dough with a light drizzle of oil, cover with plastic wrap, and let rest at room temperature for 60 to 90 minutes.
No mixer: Transfer to a clean, lightly oiled boil, cover with plastic wrap, and let rest.
Note: If your kitchen is cold, you may want to place the dough near a heat source. It’ll rise best if it’s warm and cozy.
5. Divide
Turn the dough out onto a clean work surface. Using a bench scraper or a large knife, divide the dough into six equal portions of 85 grams each.
6. Shape
Place one portion in the middle of your work surface, and set the others aside, covered loosely with plastic wrap.
One by one, shape each portion of dough into a dome shape (a boule). Here’s some YouTube guidance.
As you work, keep everything covered loosely with plastic wrap to prevent drying out.
7. Prepare a sheet pan
Cover a sheet pan with parchment paper. Mist with baking spray, or lightly drizzle with olive oil and spread the oil with your fingertips. Dust the whole thing with cornmeal.
8. Proof 60 to 90 minutes
Place your little boules seam-side down on the prepared parchment paper. Dust with a bit of cornmeal on the tops of the muffins.
Cover loosely with plastic wrap and let rest at room temperature for 60 to 90 minutes. They will rise both up and out.
Do ahead: If you’re working in advance, you can place the whole sheet pan in the fridge, and let them chill overnight. When you’re ready to rock, just take the pan out and let the muffins proof at room temperature for ~60 minutes before cooking.
8. Heat a cast-iron skillet to medium; preheat oven to 350°F
Put an empty sheet pan or other oven-proof dish in the oven.
9. Cook!
Add a bit of oil to the pan. A few at a time (so they’re never touching), griddle each muffin for about 3–5 minutes per side, or until golden-brown and flattened. Keep the others covered loosely in plastic wrap to prevent drying.
Transfer griddled muffins to the oven and keep baking for about five minutes. This ensures that the center is baked.
10. Cool, and eat!
Transfer finished muffins to a rack or clean, dry surface, and let cool.
Stab with a fork to cut in half, and check out those nooks and cranniesssszz!
Store in a sealed plastic bag.
Um, excuse me?
I don’t have bread flour. Can I use all-purpose?
Yes. Bread flour has higher protein content, which more reliably makes a nice, sturdy dough, but AP will work in a pinch.
I don’t have buttermilk. Can I use milk?
Yes, regular milk will work in a pinch. Or you can make buttermilk by adding a spoonful of lemon juice or vinegar to your milk. It’ll curdle a little when you add the acid—that’s fine.
Why do I need buttermilk in the first place?
I like buttermilk because it adds a nice tang to baked goods, but it also helps tenderize the gluten, so you can get a nice soft crumb without losing structure.
Should I use salted butter or unsalted?
It - does - not - matter. I used to freak out if a recipe called for salted butter and I only had unsalted, or vice versa. In almost all cases (all that I can think of, which means there’s probably some edge case I’m not aware of), the swing in salt content does not affect the chemistry of your baked good, so it’s just a question of how salty you like your food. I almost always buy salted butter because I like salt, and I use them interchangeably, to no noticeable effect.
My dough isn’t rising when I rest it. What gives?
Your kitchen probably isn’t warm enough. Turn your oven on low to warm up the space and encourage the dough to rise.
I’m obsessed. What else can I make?
This recipe was inspired by one in The Bread Baker’s Apprentice, by Peter Reinhart. That guy is a bread genius, and the book is filled with fun things like this. Or, try this beginner country loaf!
What other books should I buy?
My favorite bread books are Tartine Bread, Flour Water Salt Yeast, The Bread Baker’s Apprentice, and the River Cottage Bread Handbook.
Got other questions? Need emergency support?
DM us on Instagram @idratherbemeryl.


